Interested in this project?
Continue LearningIn this tutorial, we will using the Vision and CoreML frameworks to make an Image Segmentation app. Image Segmentation is a way to divide an image into multiple segments depending upon the subject. You may want to do image segmentation when trying to add a black and white background while maintaining the color of the foreground. There are numerous applications for image segmentation.
In this tutorial we will use Apple's Vision framework along with CoreML DeepLabV3 model to do image classification and segmentation and make the background of an image black while maintaining the color of the subject in the foreground.
Let's begin by first heading over to this site and downloading the DeepLabV3 model. In the ViewController, make sure to import Vision.
import UIKit
import Vision
The app UI will be really basic. We will have an UIImageView placed in the center of the view with a button underneath it and a UIBarButtonItem on the top right side of the navigation bar.
let imageView: UIImageView = {
       let img = UIImageView()
        img.image = UIImage(systemName: "hare.fill")
        img.contentMode = .scaleToFill
        img.translatesAutoresizingMaskIntoConstraints = false
        img.tintColor = .black
        return img
    }()

    let segmentedDrawingView: DrawingSegmentationView = {
       let img = DrawingSegmentationView()
        img.backgroundColor = .clear
        img.contentMode = .scaleToFill
        img.translatesAutoresizingMaskIntoConstraints = false
       return img
    }()

    let startSegmentationButton : UIButton = {
        let btn = UIButton(type: .system)
        btn.addTarget(self, action: #selector(handleStartSegmentationButton), for: .touchUpInside)
        btn.translatesAutoresizingMaskIntoConstraints = false
        btn.backgroundColor = .gray
        btn.layer.cornerRadius = 5
        btn.tintColor = .white
        btn.layer.masksToBounds  = true
        btn.setTitle("Begin", for: .normal)
        btn.isHidden = true
        return btn
    }()
The hare is just a placeholder image. The button is hidden and will be shown once you select an image from your camera roll. More on that in just a bit. The constraints for these views are pretty basic.
func setupViews() {
      view.addSubview(imageView)
      view.addSubview(segmentedDrawingView)
      view.addSubview(startSegmentationButton)
}

func layoutViews() {
    view.bringSubviewToFront(segmentedDrawingView)
    segmentedDrawingView.centerXAnchor.constraint(equalTo: view.centerXAnchor).isActive = true
    segmentedDrawingView.centerYAnchor.constraint(equalTo: view.centerYAnchor).isActive = true
    segmentedDrawingView.heightAnchor.constraint(equalToConstant: 300).isActive = true
    segmentedDrawingView.widthAnchor.constraint(equalToConstant: 300).isActive = true

    imageView.centerXAnchor.constraint(equalTo: view.centerXAnchor).isActive = true
    imageView.centerYAnchor.constraint(equalTo: view.centerYAnchor).isActive = true
    imageView.heightAnchor.constraint(equalToConstant: 300).isActive = true
    imageView.widthAnchor.constraint(equalToConstant: 300).isActive = true

    startSegmentationButton.centerYAnchor.constraint(equalTo: view.centerYAnchor, constant: 250).isActive = true
    startSegmentationButton.leadingAnchor.constraint(equalTo: view.leadingAnchor, constant: 40).isActive = true
    startSegmentationButton.trailingAnchor.constraint(equalTo: view.trailingAnchor, constant: -40).isActive = true
    startSegmentationButton.heightAnchor.constraint(equalToConstant: 60).isActive = true

    }
Make sure to call setupViews & layoutViews functions inside viewDidLoad(). So now we have the basic UI ready. In viewDidLoad go ahead and place this code. This will give you the a button on the right side of the navigation bar:
self.navigationItem.rightBarButtonItem = UIBarButtonItem(image: UIImage(systemName: "camera.circle.fill"), style: .done, target: self, action: #selector(handleCameraButtonTapped))
Create a method named handleCameraButtonTapped, this will be called everytime you tap the camera button on the navigation bar.
 @objc func handleCameraButtonTapped() {
  // code to come here
 }
On tapping the camera button we will present an image picker controller, like this:
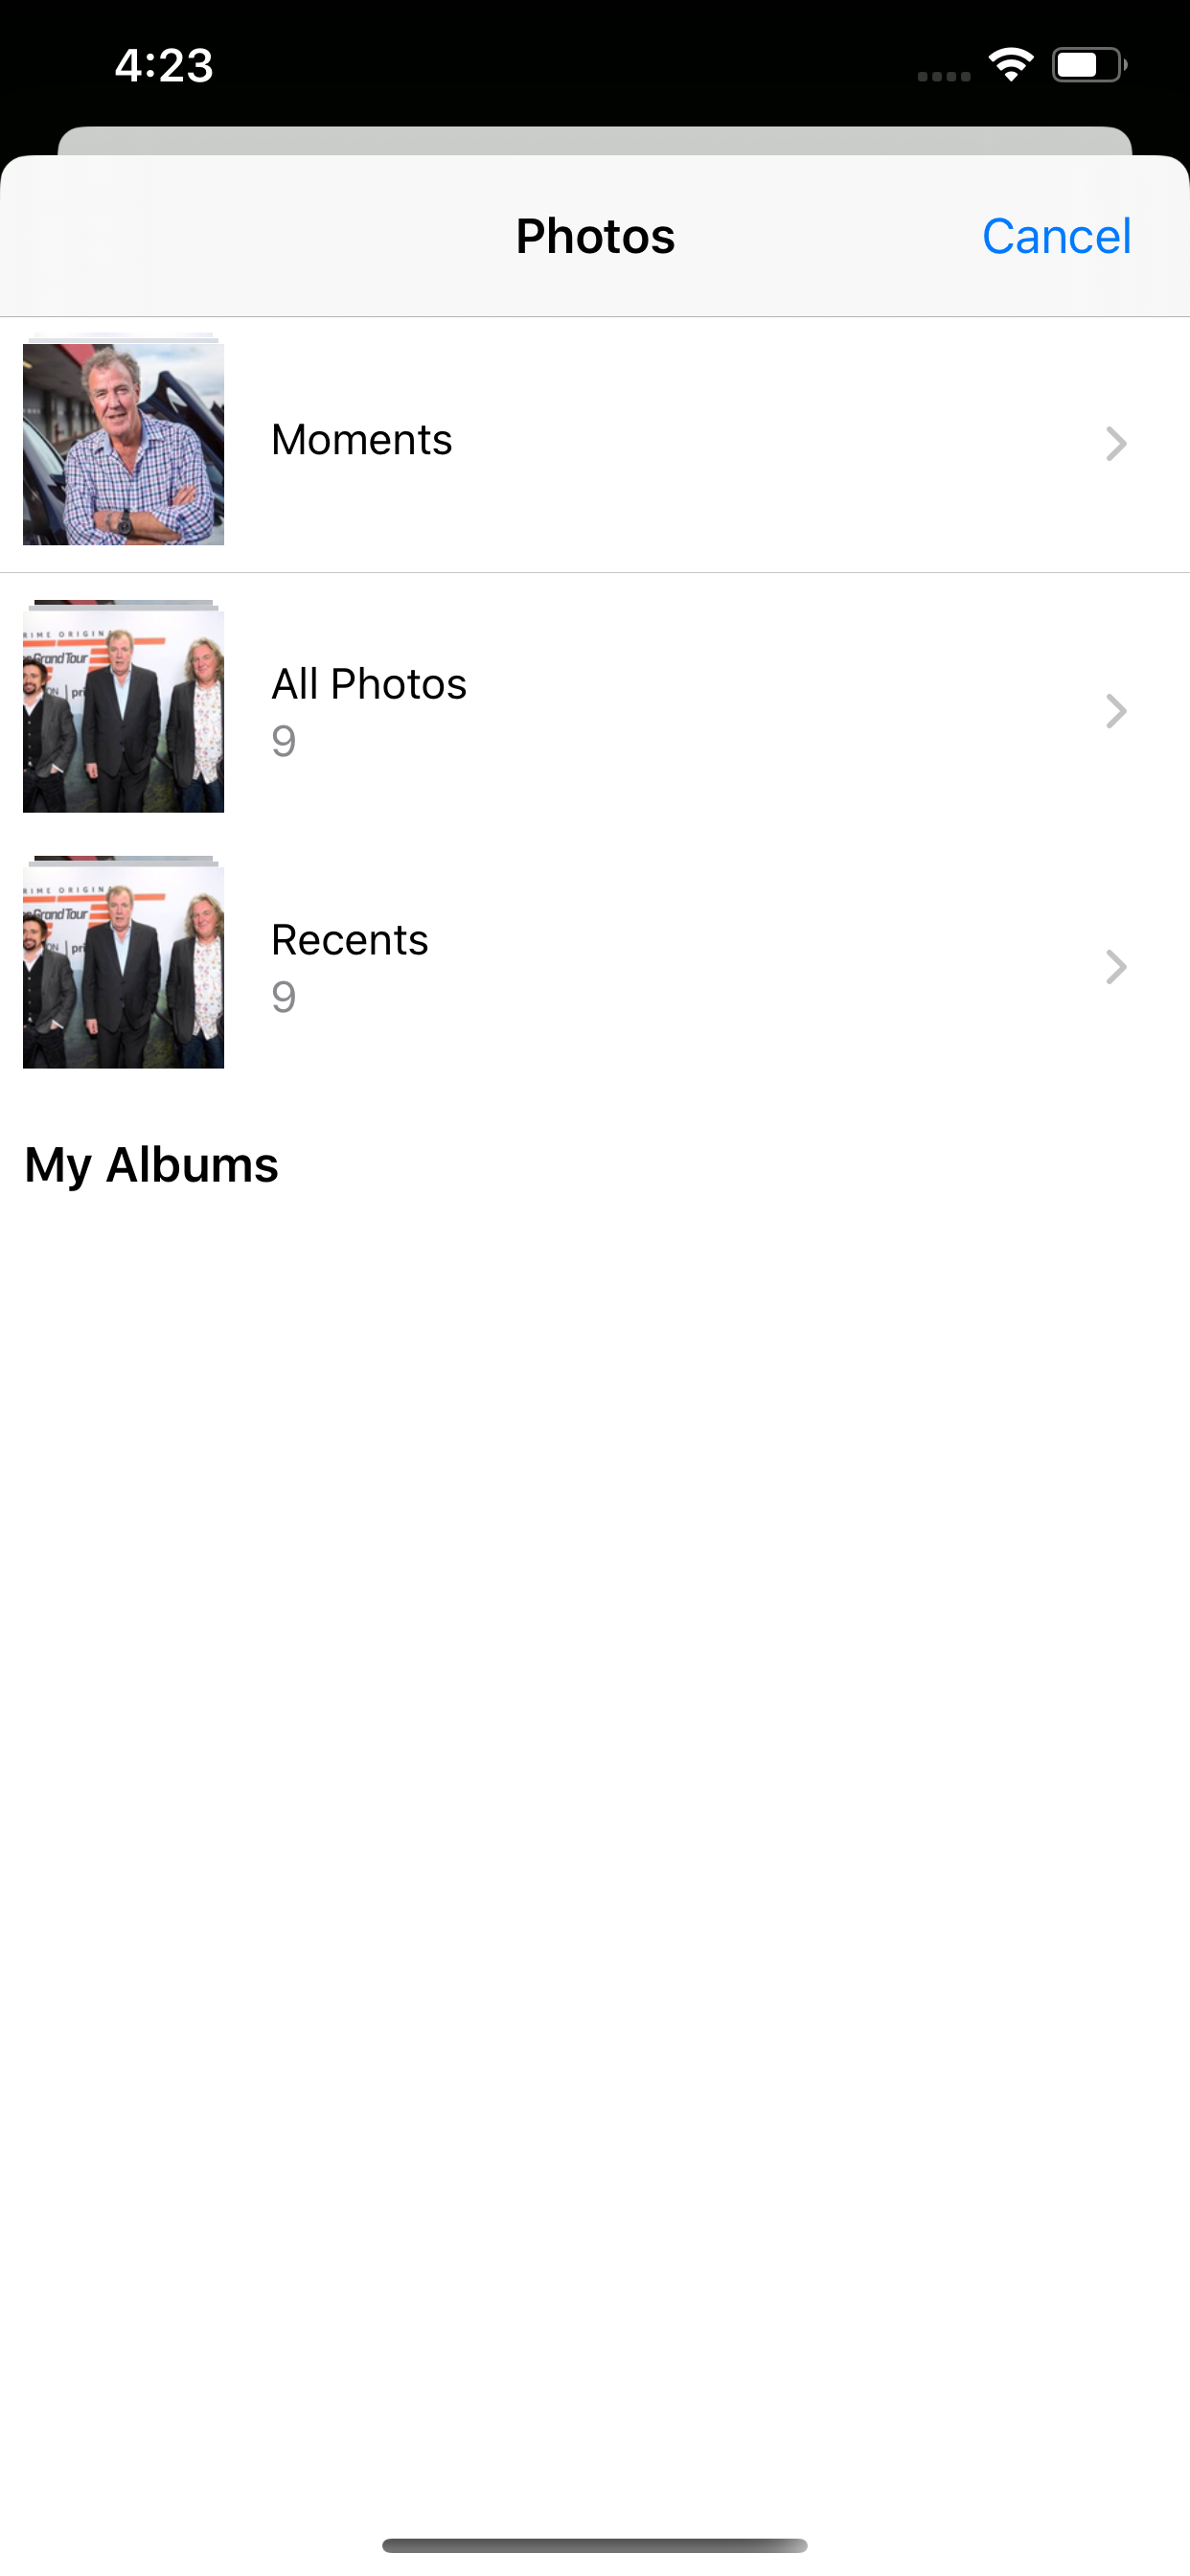
To do this first create an imagePickerController instance.
let imagePickerController = UIImagePickerController()
Then in the ViewController class definition, add UINavigationControllerDelegate and UIImagePickerControllerDelegate. In viewDidLoad, add this:
imagePickerController.delegate = self
Now we will use the delegate function which will be called once we select a media from the gallery. The function signature is this:
func imagePickerController(_ picker: UIImagePickerController, didFinishPickingMediaWithInfo info: [UIImagePickerController.InfoKey : Any]) {}
In side this method, we have a parameter info which is a dictionary. The key is an UIImagePickerController.InfoKey and the value is Any - so it could be anything from a URL to the actual image.
Inside this method, we will grab the url and UIImage that the user tapped / selected. The image will be shown on our imageView whereas the url will be sent to the Vision request. More on this later.
Add this bit of code inside the didFinishPickingMediaWithInfo method:
if let image = info[.originalImage] as? UIImage,
     let url = info[.imageURL] as? URL {
     imageView.image = image
      self.imageURL = url
     self.startSegmentationButton.isHidden = false
 }
     dismiss(animated: true, completion: nil)
self.imageURL is just a simple variable of type URL. The segmentationButton's isHidden property is assigned to false and the imageView is assigned the selected image.
Now inside the handleCameraButtonTapped method, add this line of this:
self.present(imagePickerController, animated: true, completion: nil)
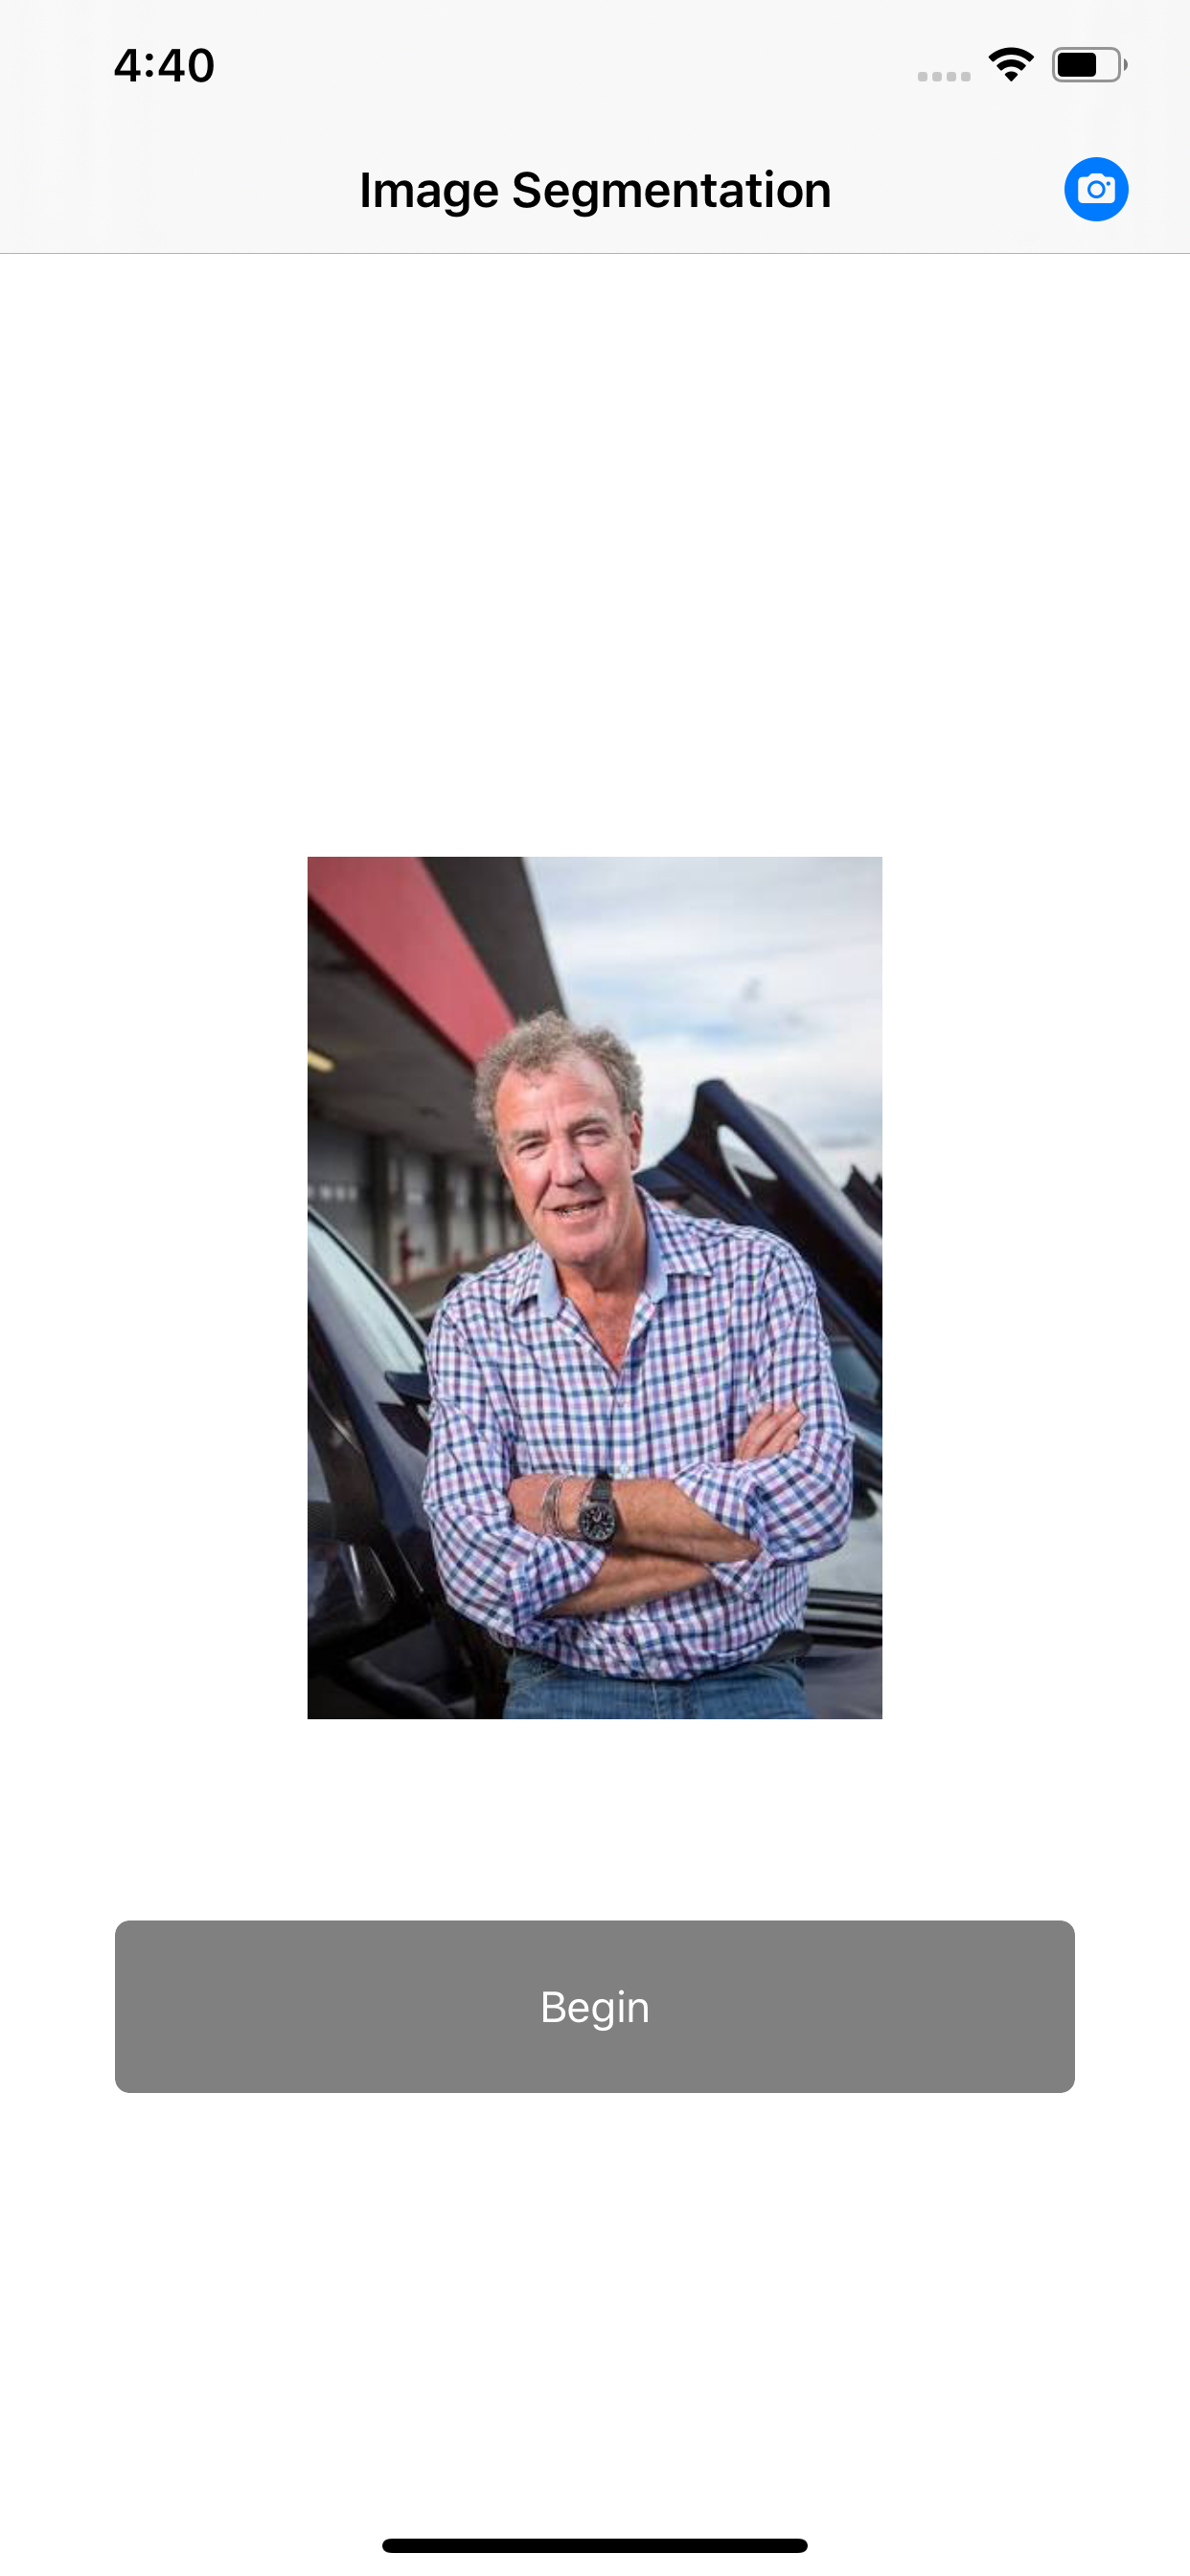
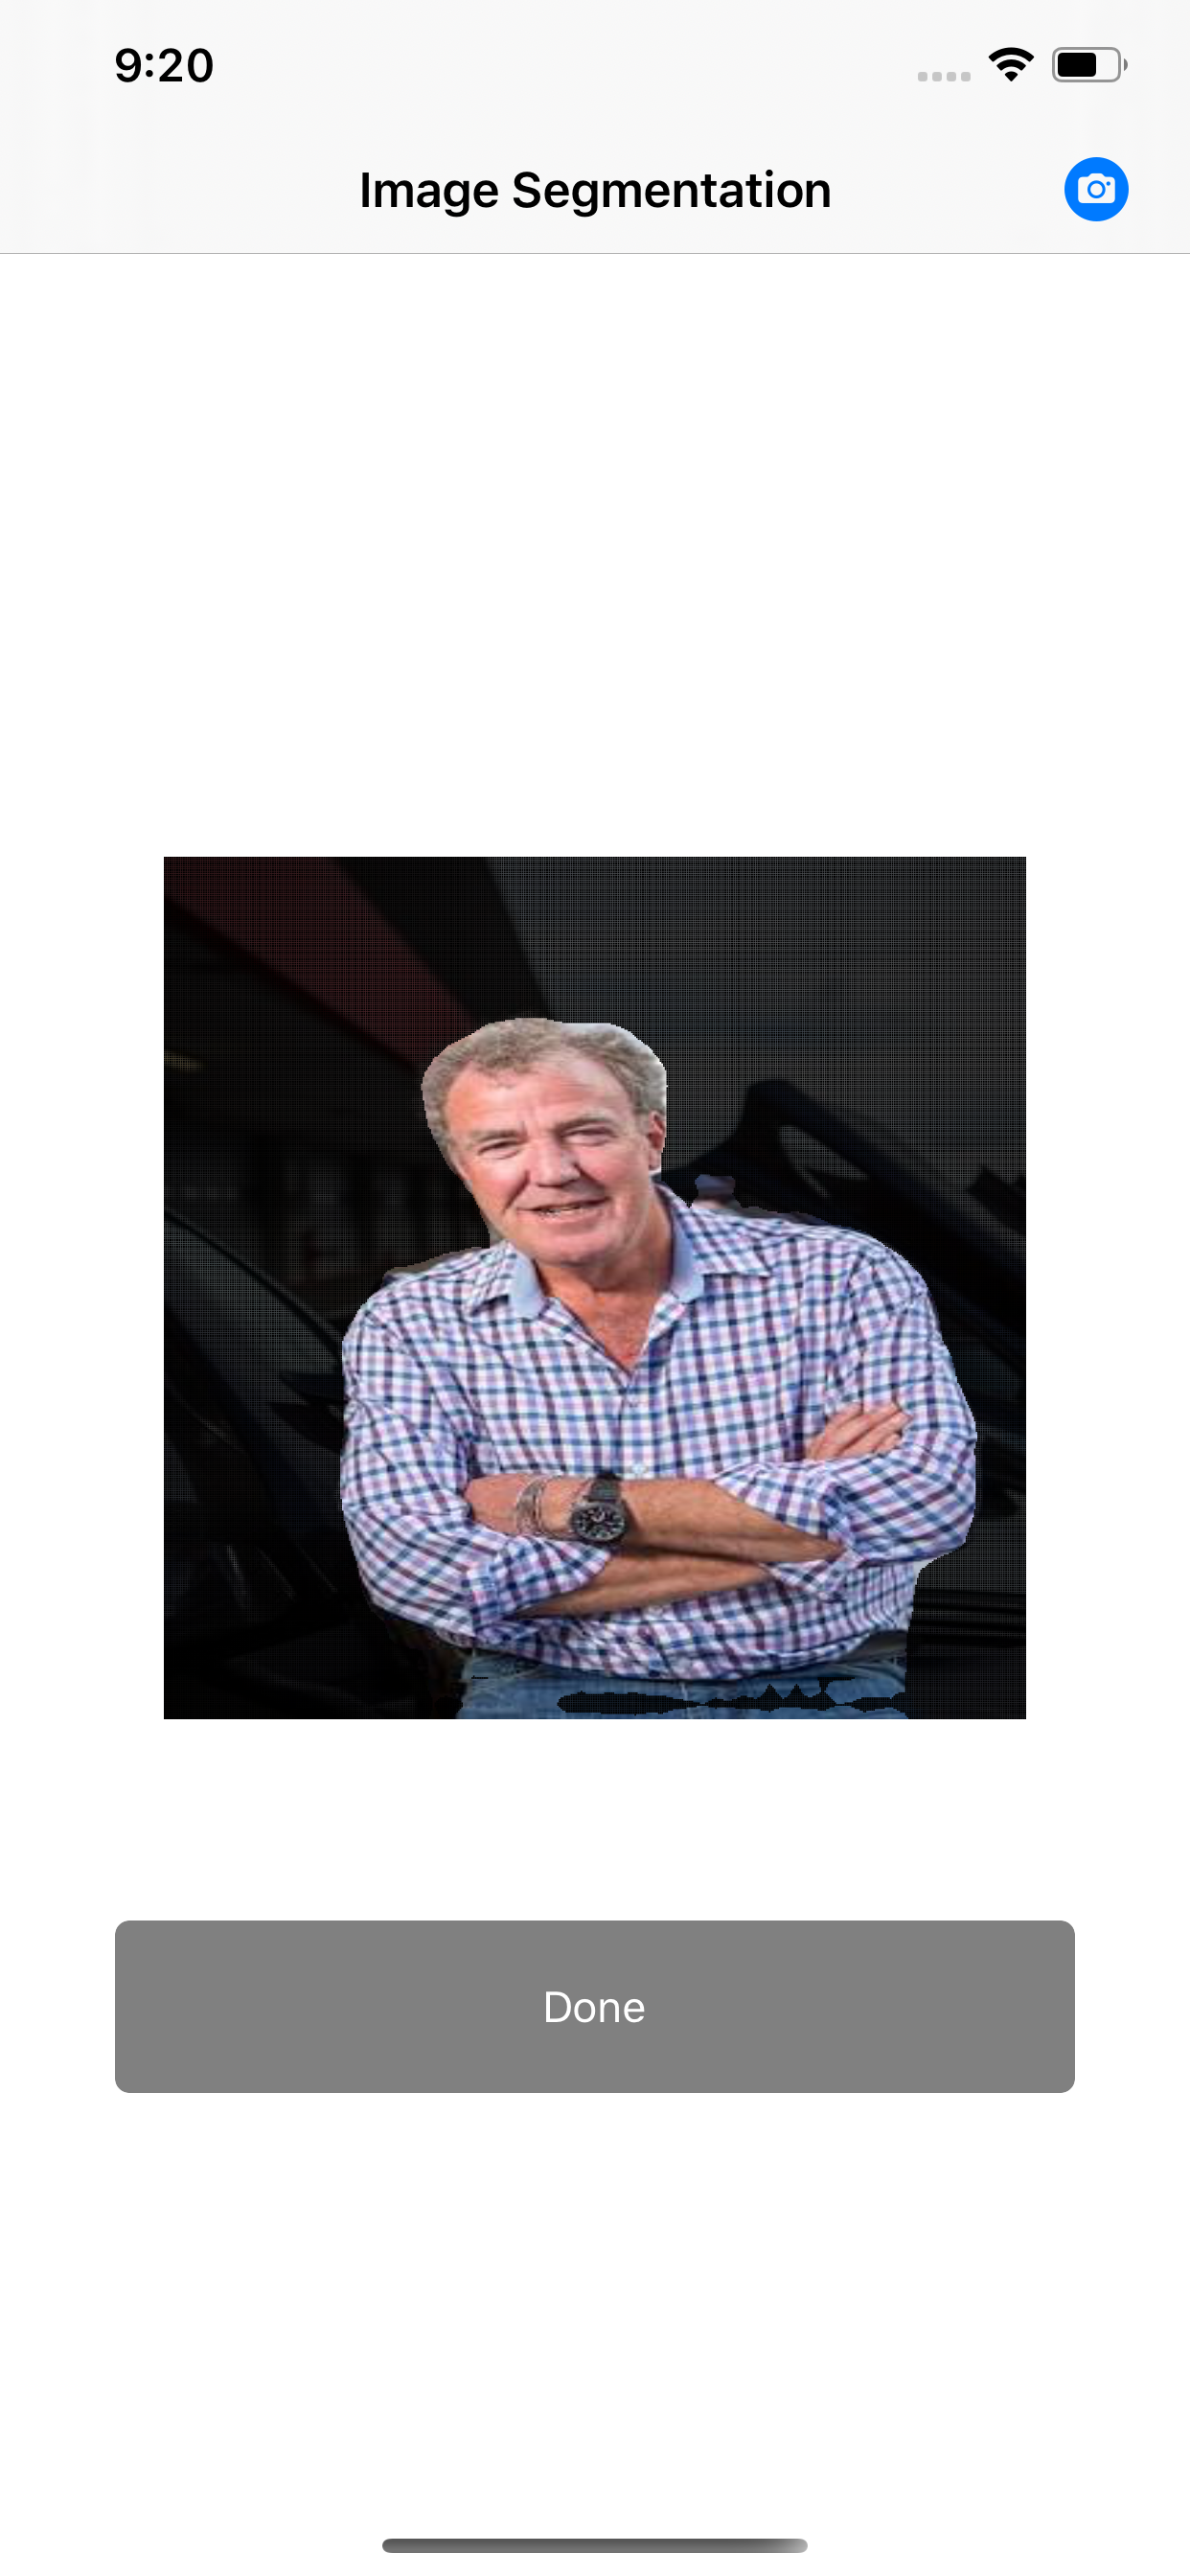
So this is what we are going to see once we select an image:
Vision and CoreML
Now let's begin with the Vision and CoreML. Start with first dragging the DeepLabV3 model files into the Xcode project.
Inside the ViewController file, create an instance of the DeepLabV3 class.
var imageSegmentationModel = DeepLabV3()
Then we will create another property called request.
var request : VNCoreMLRequest?
Now the first thing we will do is to setup our machine learning model. So in setupModel function write this code:
   if let visionModel = try? VNCoreMLModel(for: imageSegmentationModel.model) {
       request = VNCoreMLRequest(model: visionModel, completionHandler: visionRequestDidComplete)
       request?.imageCropAndScaleOption = .scaleFill

   } else {
       fatalError()
   }
Here we are creating a VNCoreMLModel from the DeepLabV3 model. Basically, Apple's Vision framework is defined as:
The Vision framework performs face and face landmark detection, text detection, barcode recognition, image registration, and general feature tracking. Vision also allows the use of custom Core ML models for tasks like classification or object detection.
So with Vision you can do barcode detection, image registration and so much more, however in our case we want to use a Core ML model to do image classification. Thereforr we will use the VNCoreMLModel to construct a visionModel. Then if this constructor works and provides no error, we will create a VNCoreMLRequest. The request will take in the VNCoreMLModel and a completionHandler - which is basically a closure. The request has couple of methods as well for example the imageCropAndScaleOption for the resulting image that will be formed after the segmentation.
Now, our model is all set up! Next, we will create a handler and perform the request.
func predict(with url: URL) {
    DispatchQueue.global(qos: .userInitiated).async {
        guard let request = self.request else { fatalError() }
        let handler = VNImageRequestHandler(url: url, options: [:])
        do {
            try handler.perform([request])
        }catch {
            print(error)
        }
      }
   }
In the a new function called predict(url: URL) which takes in a URL, we are creating an VNImageRequestHandler. We are using the URL and options constructor to create an instance of this handler. This VNImageRequestHandler will handle our Vision request. Once the handler is created we are using the .perform([]) method to pass in an array of Vision request. In our case we only one have one so we will just pass that.
Take a look at the do, try & catch syntax in the above code. The handler.perform() definition reveals that it can throw an error:
open func perform(_ requests: [VNRequest]) throws
So we use the do / catch block where if there is any error thrown by the perform() method it is caught in the catch block and handled appropriately.
So whats happened so far. We have created a Vision model from a CoreML DeepLabV3 model which we downloaded from the web. Then we create an image request handler, since we are dealing with image analysis here. The handler receives the image to be analyzed and then the request is passed through in the perform method. The image will now be analyzed. The image is partitioned into multiplied regions depending upon the characteristics of the pixels. In the visionRequestDidComplete method we will receieve the request and error?
func visionRequestDidComplete(request: VNRequest, error: Error?) {
   DispatchQueue.main.async {
       if let observations = request.results as? [VNCoreMLFeatureValueObservation],
           let segmentationmap = observations.first?.featureValue.multiArrayValue {
           self.segmentedDrawingView.segmentationmap = SegmentationResultMLMultiArray(mlMultiArray: segmentationmap)
           self.startSegmentationButton.setTitle("Done", for: .normal)
       }
   }

}
We grab the request and get the results from that request and cast it as an array of VNCoreMLFeatureValueObservation. The first element of this basically gives us is a segmenationMap. This segmentationMap is an multi dimension array with Int values. The array size is 512 by 512. The array content is just a Int value (0,7,15,9 etc). Each of these numbers denote a color. If our CoreML model recognized that there is misc/background region in the image, all the pixels which forms the background/misc area will be given a value of say 0. A car will be given a different value say 7 and the person will be given a value of 15. The segmentationMap consists of as many values as there are pixels in the picture. Each matrix element represent a pixel. The value of the element represent the color of that pixel based on the above criteria.
Let's now take a look at how to make the segmentation view. I took some reference code from this project that I found on Github.
We will first create a class called SegmentationResultMLMultiArray and it will contain three properties.
class SegmentationResultMLMultiArray {
   let mlMultiArray: MLMultiArray
   let segmentationmapWidthSize: Int
   let segmentationmapHeightSize: Int
The MLMultiArray is the array that we get from the results of the model. We will initialize the class with this:
init(mlMultiArray: MLMultiArray) {
   self.mlMultiArray = mlMultiArray
   self.segmentationmapWidthSize = mlMultiArray.shape[0].intValue
   self.segmentationmapHeightSize = mlMultiArray.shape[1].intValue
}
We will initialize the segmentationmapWidthSize and segmentationmapWidthSize by the mlMultiArray.shape property. This property gives the size of the dimension 0 and 1.
subscript(colunmIndex: Int, rowIndex: Int) -> NSNumber {
   let index = colunmIndex*(segmentationmapHeightSize) + rowIndex
   return mlMultiArray[index]
}
This bit of code will return a value from the mlMultiArray by first creating an index value from the col and row index of the image matrix.
Let's subclass the UIView, and call it DrawingSegmentationView.
class DrawingSegmentationView: UIView {

   private var segmentationColor: [Int32 : UIColor] = [7: UIColor(red: 0, green: 0, blue: 0, alpha: 1), 0: UIColor(red: 0, green: 0, blue: 0, alpha: 1), 15: UIColor(white: 0, alpha: 0)]

   func segmentationColor(with index: Int32) -> UIColor {
       if let color = blackWhiteColor[index] {
           return color
       } else {
           let color = UIColor(red: 0, green: 0, blue: 0, alpha: 1)
           blackWhiteColor[index] = color
           return color
       }
   }

   var segmentationmap: SegmentationResultMLMultiArray? = nil {
       didSet {
           self.setNeedsDisplay()
       }
   }
Here, I have a segmentationColor dictionary that has a key of type Int32 and value as UIColor. Inside this dictionary, we have a three elements; for a key of 7 and 0 the value is black, and for key of 15 the color is transparent / so it retains the original subject's color. If for any value there isn't a particular color available, we will create a random black color and assign it to a key in the dictionary.
Then, we will create a segmentationMap property of type SegmentationResultMLMultiArray and when this array is set, it will draw the segmentation view. In the draw function:
override func draw(_ rect: CGRect) {

   if let ctx = UIGraphicsGetCurrentContext() {

       ctx.clear(rect);

       guard let segmentationmap = self.segmentationmap else { return }

       let size = self.bounds.size
       let segmentationmapWidthSize = segmentationmap.segmentationmapWidthSize
       let segmentationmapHeightSize = segmentationmap.segmentationmapHeightSize
       let w = size.width / CGFloat(segmentationmapWidthSize)
       let h = size.height / CGFloat(segmentationmapHeightSize)

       for j in 0..<segmentationmapHeightSize {
           for i in 0..<segmentationmapWidthSize {
               let value = segmentationmap[j, i].int32Value

               let rect: CGRect = CGRect(x: CGFloat(i) * w, y: CGFloat(j) * h, width: w, height: h)

               let color: UIColor = segmentationColor[value]!

               color.setFill()
               UIRectFill(rect)
           }
       }
   }
}
In the draw function we grab the view's height and width and divide it by segmentationMaps height and width. This gives us w & h. Then in the nested for loop, we go through the row and col and grab the element from the segmentationMap using the subscript method which we implemented inside the SegmentationResultMLMultiArray class.
The value we get from the segmenationMap,is then passed to the dictionary which returns the appropriate color. Then we create a CGRect, with width and height and x & y coordinates and then draw that rect on the view with that color.
We do this entire operation on the main thread while the code inside the predict function runs on a background thread.
In the func handleStartSegmentationButton() function, once we tap on the begin button, we should call the predict function and pass the URL of the image.
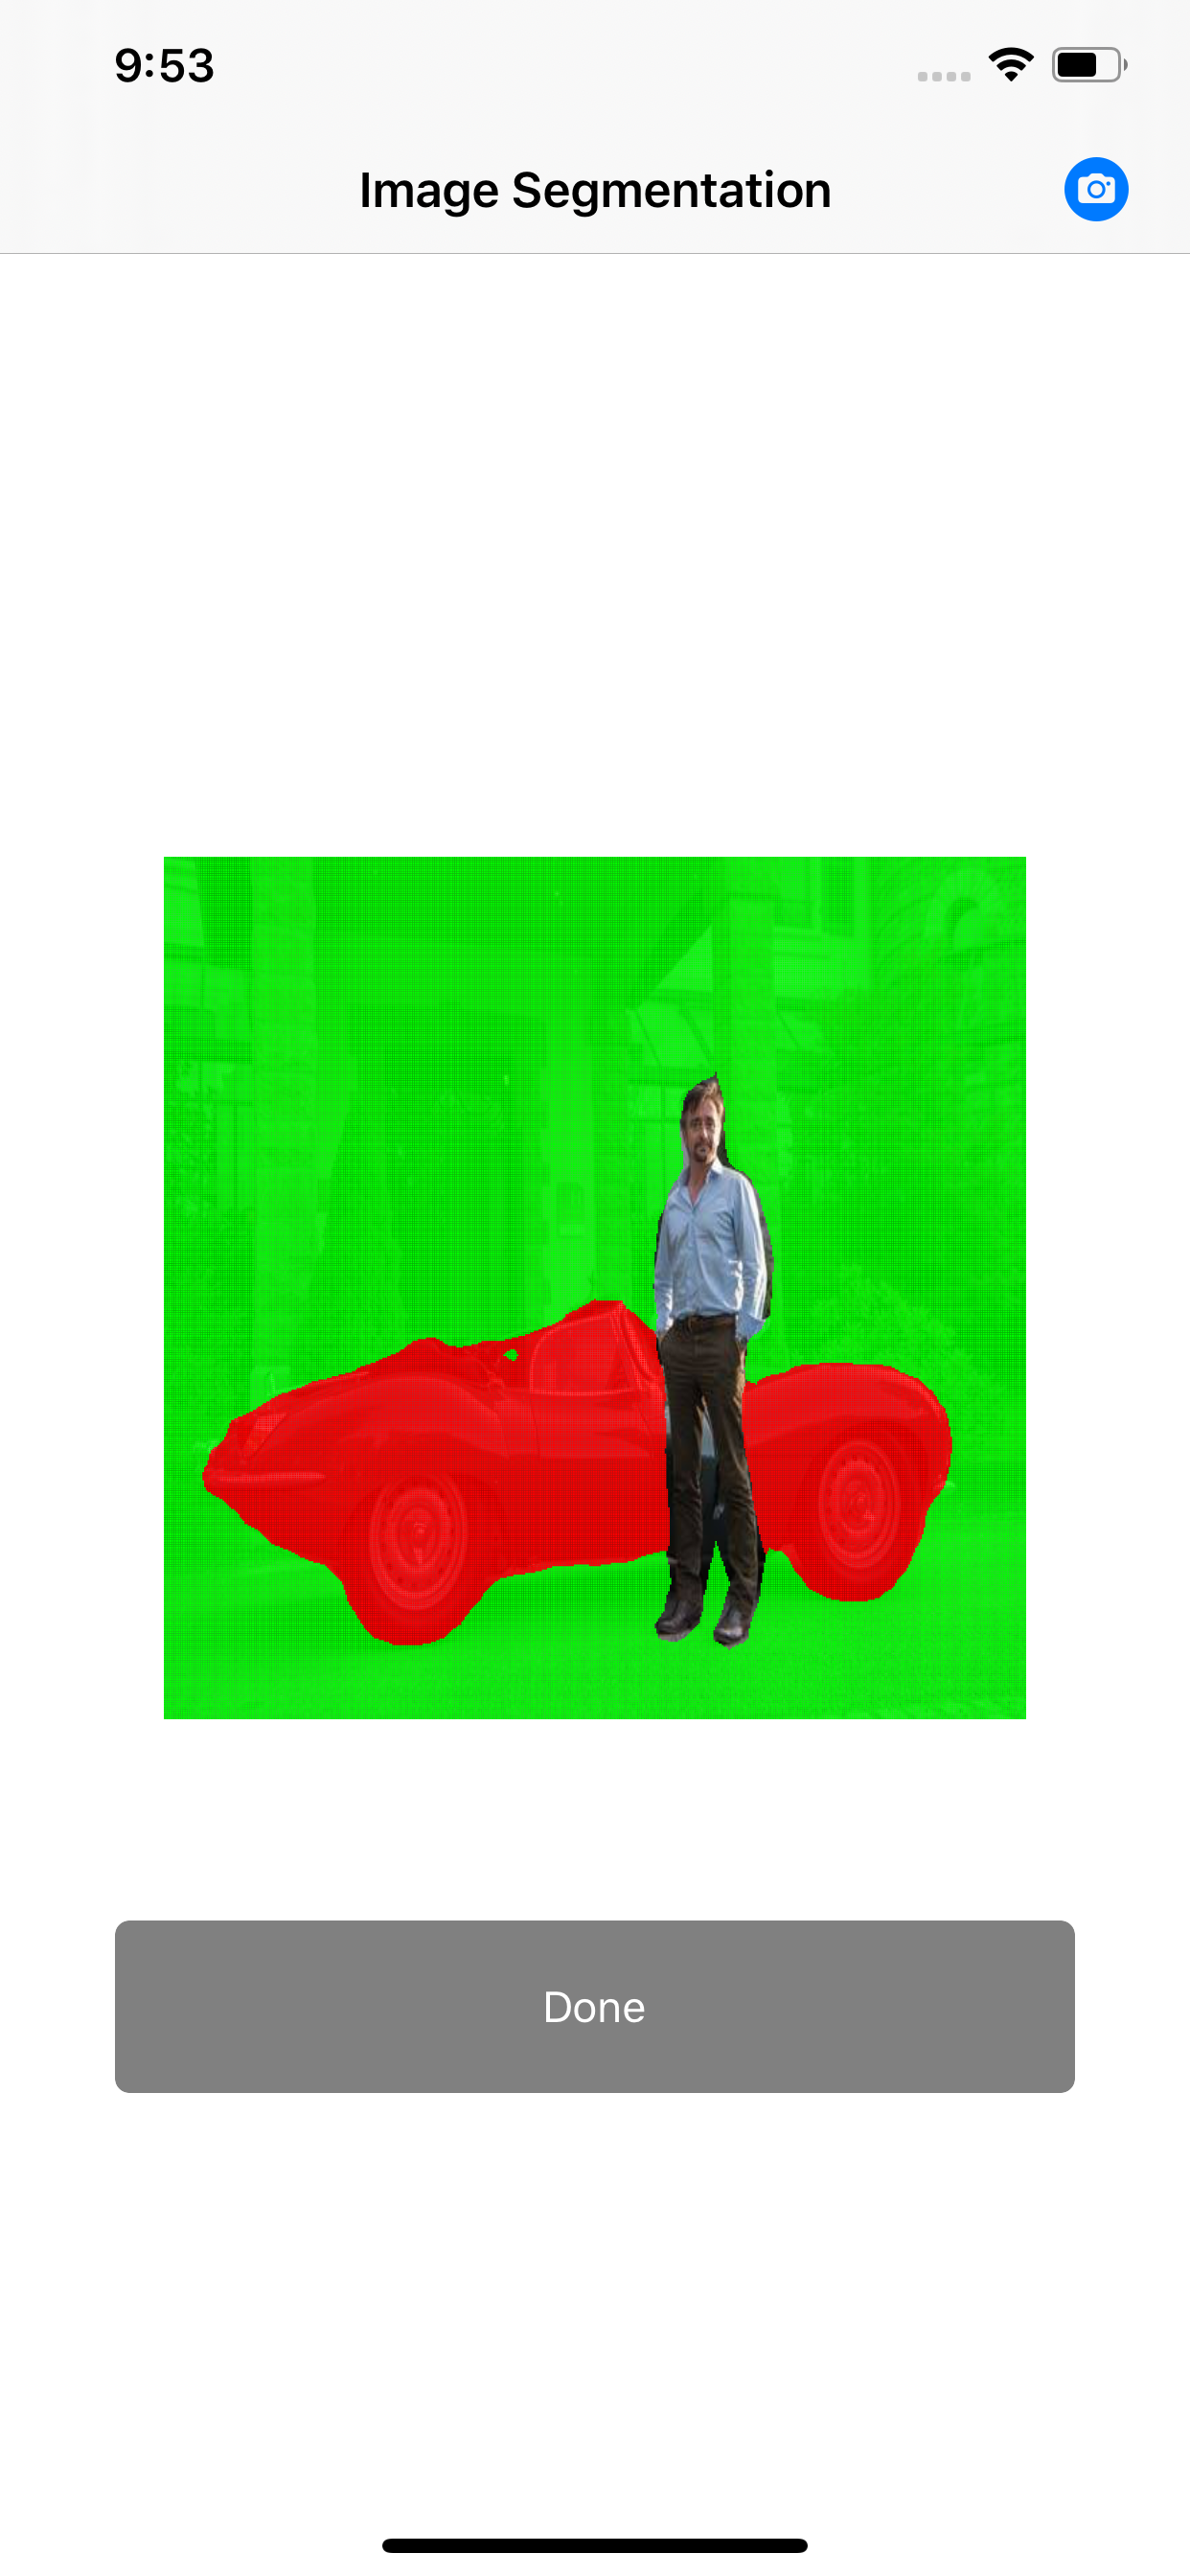
As you can see, the background is all black whereas the foreground (Jeremy Clarkson) retains the color. Again you can change the colors and you will see even better segmentation. Let's for the sake of completion, change the colors and put a picture where there is a car, a person and misc background - and see what sort of results we get:
- I changed the dictionary values - the person will remain transparent, the car will be red and the background should be green.
private var colors: [Int32 : UIColor] = [7: UIColor(red: 1, green: 0, blue: 0, alpha: 1), 0: UIColor(red: 0, green: 1, blue: 0, alpha: 1), 15: UIColor(white: 0, alpha: 0)]
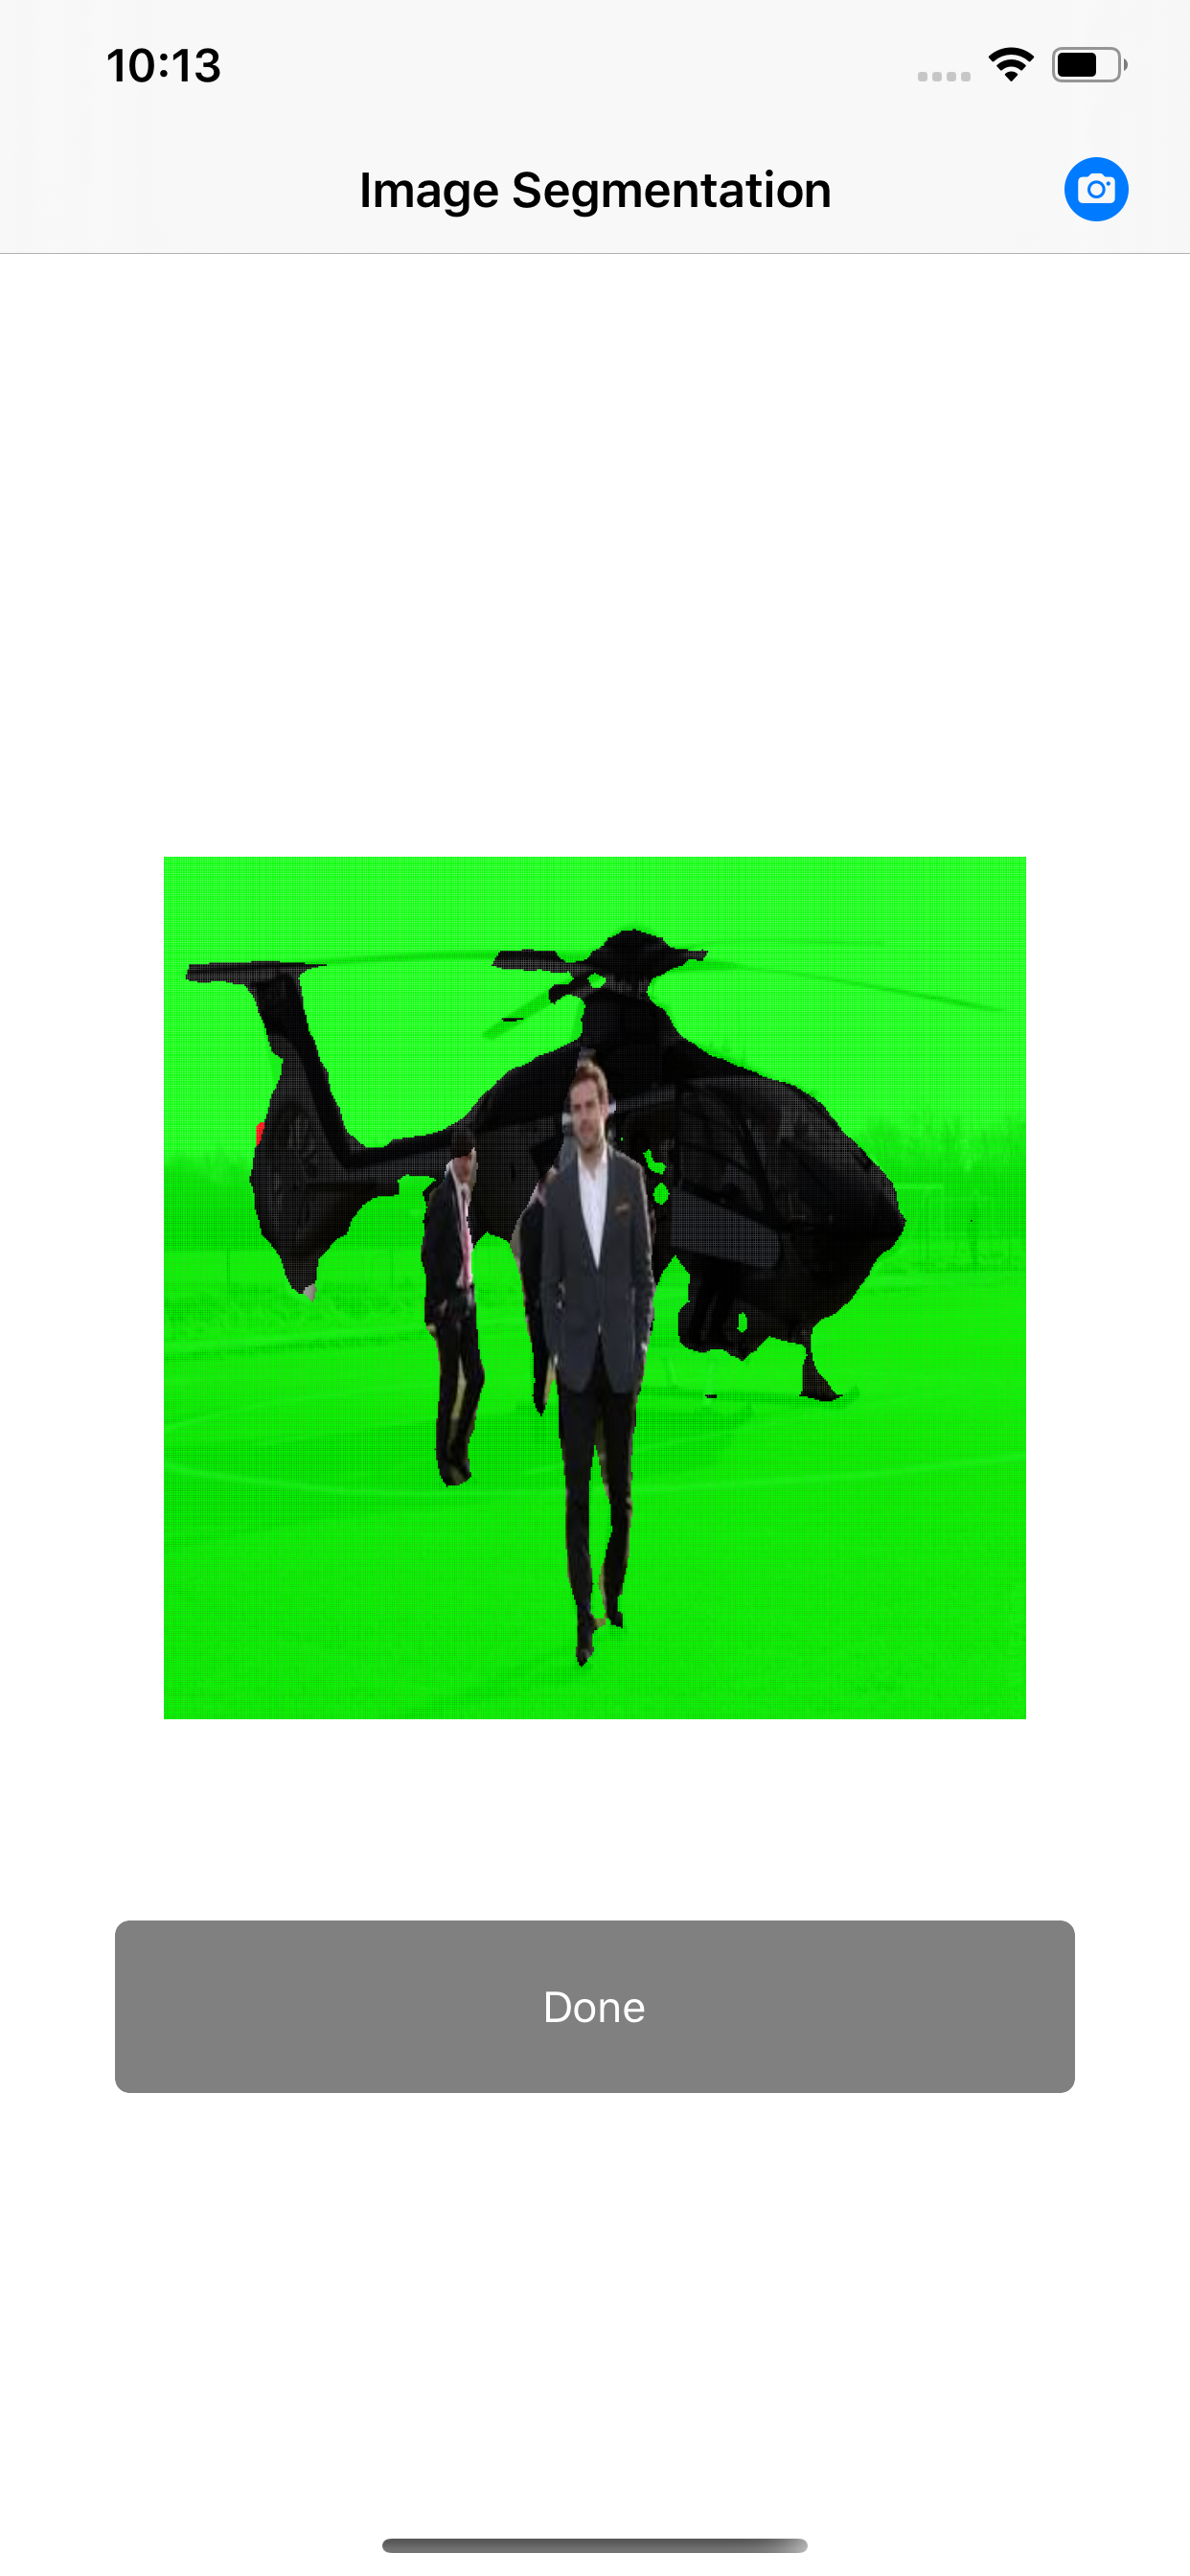
Another example where we have a person, background and a helicopter/airplane. Whenever this happens, you can see that helicopter has a black color on it, where as the background is green and the person remains transparent.
Ideally if you want to apply a different color to every part of the segmentation, then it's better to just dynamically create a UIColor using the value received from the matrix and save that color in the dictionary.
So this how you can do image segmentation in iOS using Vision and CoreML model.
Comments (0)