Interested in this project?
Continue LearningDependencies
This project is built on top of the Build a Todo List App in React.js tutorial. If you are new to React or want to incorporate a to-do list in your personal dashboard, I strongly recommend you complete that project first. However, if you have an adequate understanding of React, then feel free to go ahead and start this project!
Getting Started
To get started, you'll need to make sure you have Node >= 8.10 and npm >= 5.6 on your machine. You can install these packages for macOS, Windows, or Linux here. To bootstrap a new react project, we can use create-react-app to make our lives easier. The following command will generate and configure all of the files, folders, and libraries we need:
npx create-react-app personal-dashboard
Great! Now, let's cd into personal-dashboard and run npm start to start a development server.
cd personal-dashboard
npm start
If you head over to localhost:3000 in your browser, you should see your React application!
Prototyping the Dashboard
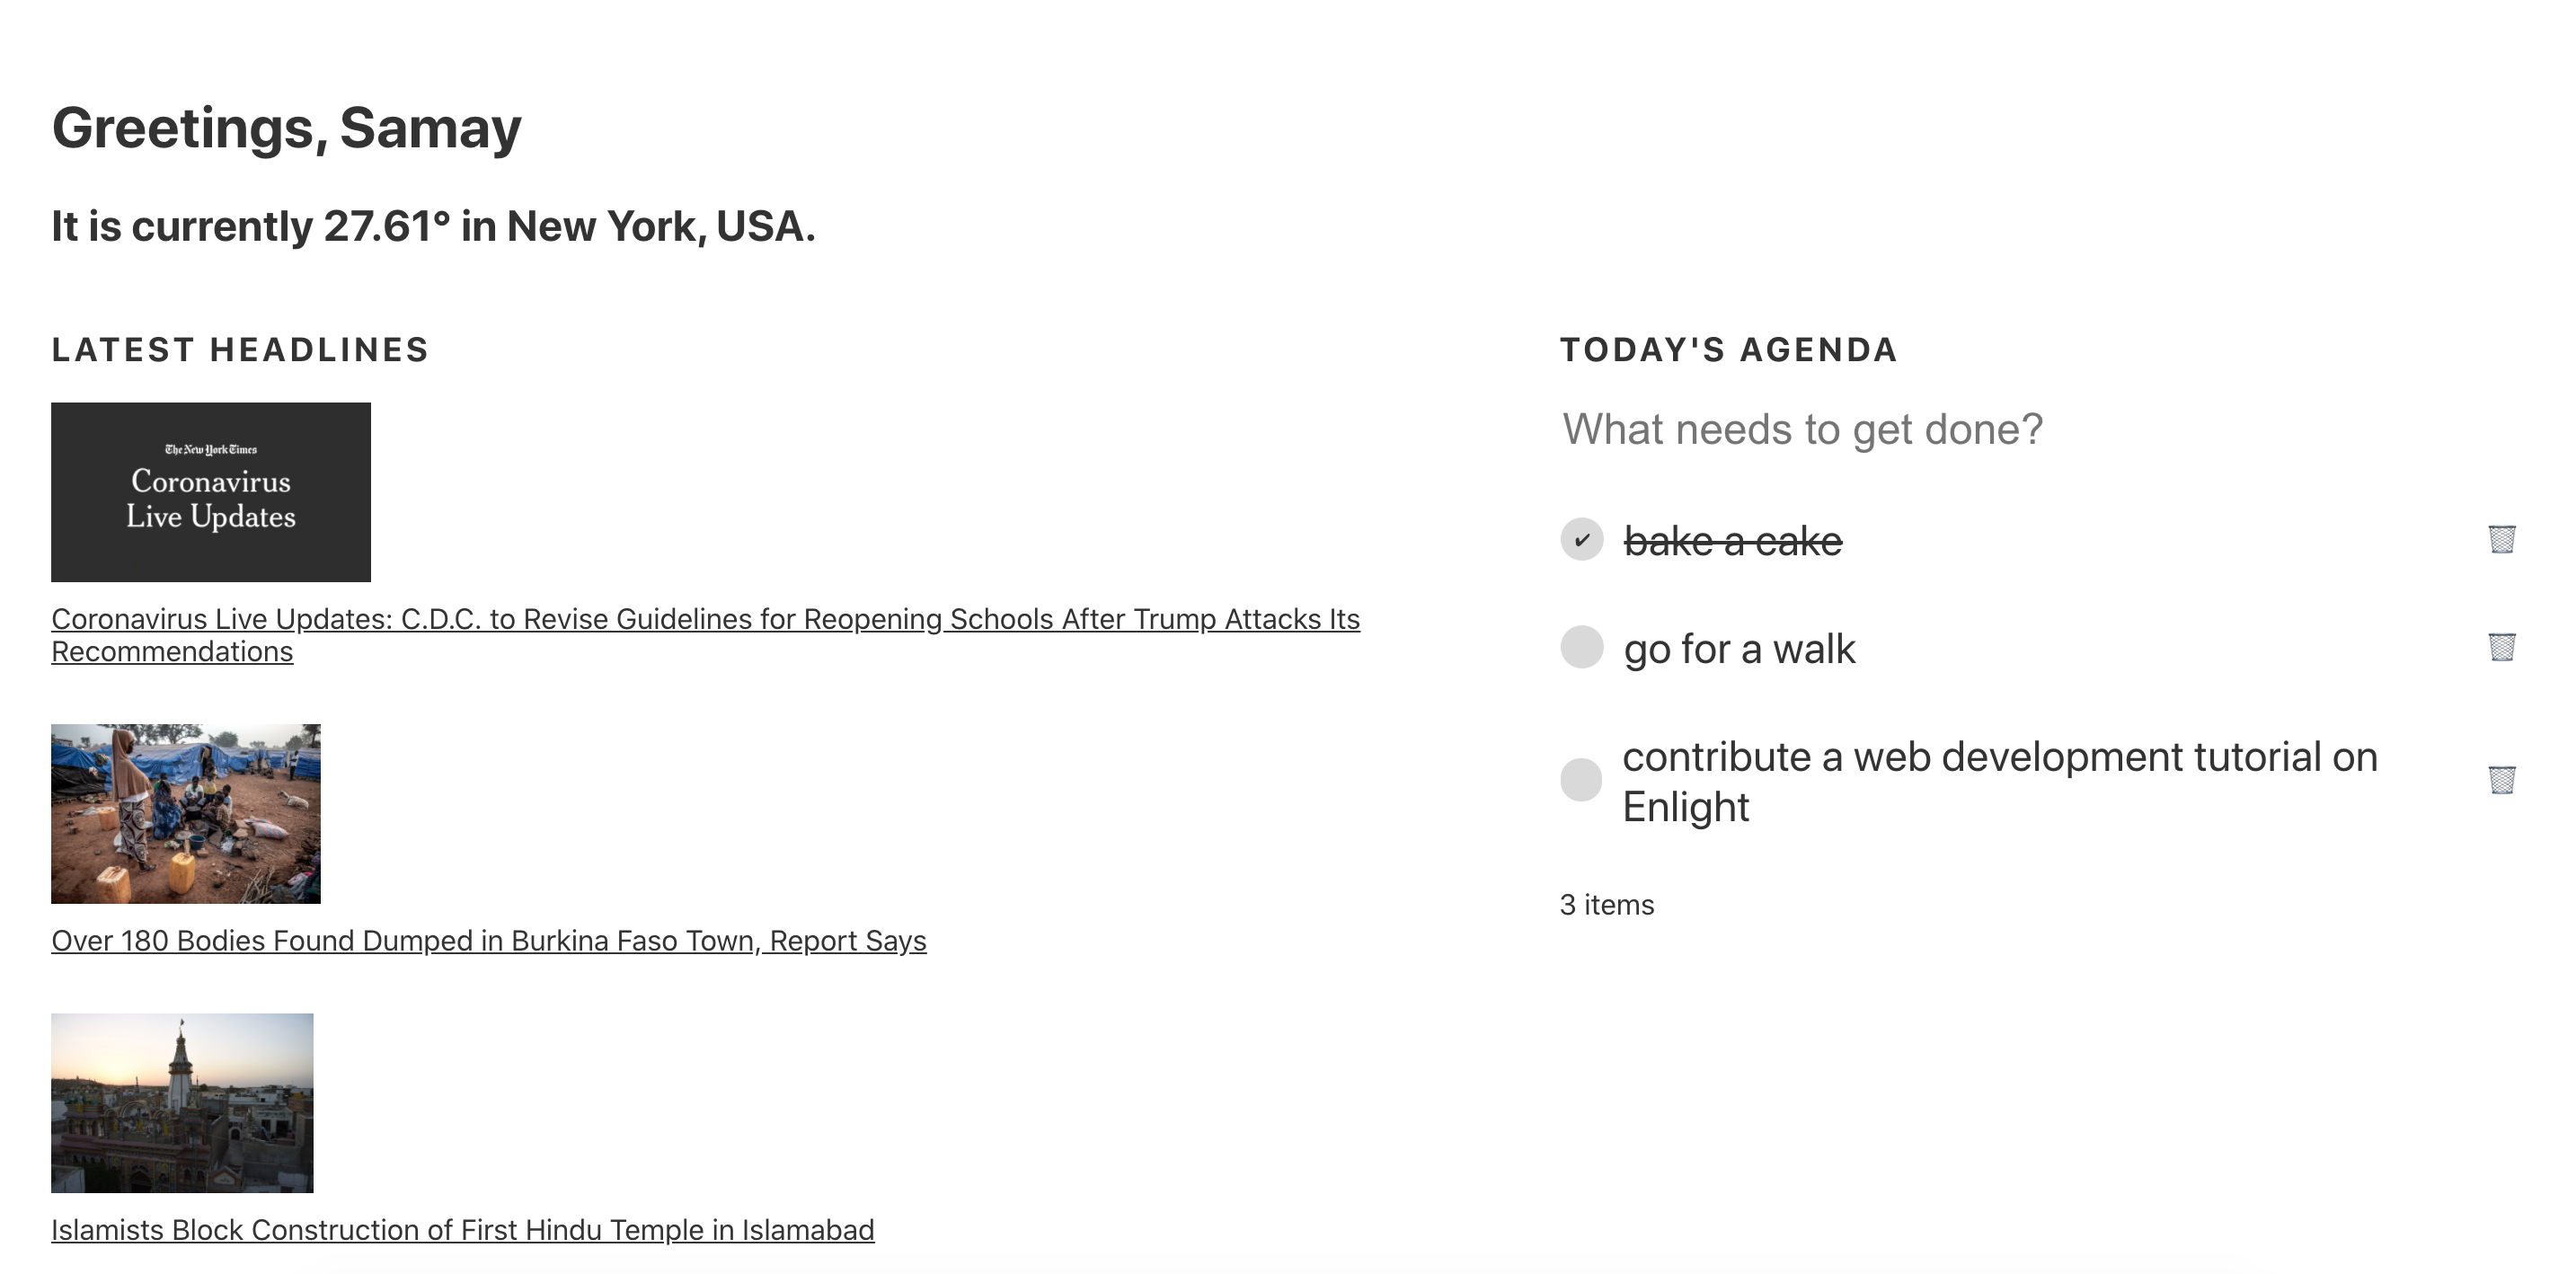
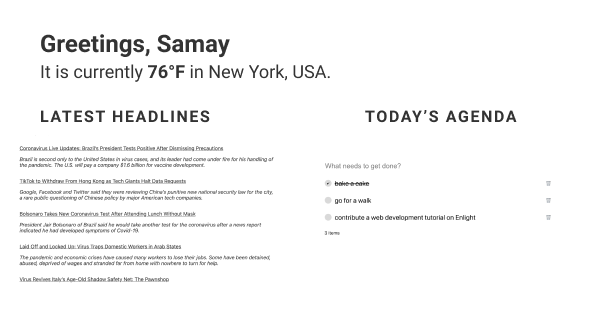
Before we start building, we should have an idea of what we want to build. I made a prototype for my dashboard in Figma — and I recommend that you do the same! I chose to render a greeting, the current weather, the latest headlines from the New York Times, and a to-do list that I can use to manage my time. This is a concept and by no means a final draft — just a visual to keep in mind as we go ahead and build our personal dashboard!
Creating the components
Let's hop into App.js and remove all the template code and import some components that we're about to create. I'll just add the titles for the greeting, latest headlines, and today's agenda as outlined in the prototype visual that we made.
import React from 'react';
import './App.css';

import Weather from "./Weather";
import News from "./News";
import ToDo from "./ToDo";

function App() {
  return (
  <main>
    <h1>Greetings, Samay </h1>
    <Weather/>
    <section>
      <div>
        <h3>Latest headlines</h3>
        <News/>
      </div>
      <div>
        <h3>Today's Agenda</h3>
      <ToDo/>
      </div>
    </section>
  </main>
  );
}

export default App;
Next, we're going to need to create three components:
Weather.jsNews.jsToDo.js
Go ahead and create those files as well. They're just blank react functional components for now:
Weather.js
import React, { useEffect, useState } from "react";

function Weather() {
  return (
    <h2>It is currently...</h2>
  );
}

export default Weather;
News.js
import React, { useEffect, useState } from "react";

function News() {
  return (
    <h2>Articles..</h2>
  );
}

export default News;
ToDo.js
import React, { useEffect, useState } from "react";

function ToDo() {
  return (
    <h2>ToDo List..</h2>
  );
}

export default ToDo;
Before you view your app, let's add some styles in App.css so that we'll be good to go with the rest of the project. Here, we'll just set the maximum width of our dashboard and create the grid layout in flexbox. We'll also style our titles and links, which we'll be adding to our page soon when we render news articles. Replace your template css in App.css with the following:
main {
  max-width: 100%;
  margin: 0 auto;
  padding: 32px;
  color: #333;
}

section {
  display: flex;
}

@media (max-width: 600px) {
  section {
    display: block;
  }
}

h3 {
  text-transform: uppercase;
  letter-spacing: 2px;
  margin-top: 24px;
}

a {
  display: block;
  margin-top: 8px;
  margin-bottom: 32px;
  color: #333;
}
Your app should render with our titles and placeholder text for each component!
Fetching the weather
To fetch the weather, we can use the OpenWeatherMap API. Go ahead and register there for a free API key. Then, we can use the fetch API in JavaScript to get data. Within the React hook useEffect (which is called when the component is mounted), let's then fetch our weather data and set it to state using the useState hook! React hooks are a new addition to React that allow use to use state and other React features in functional components.
Next, we can access our state to render the temperature. I encourage you to explore the data as there's a lot you can display than just the temperature of a certain location!
import React, { useEffect, useState } from "react";

let apiUrl = "https://api.openweathermap.org/data/2.5/weather";
let apiKey = ""; // add your API key here
let city ="New York, USA"; // replace this with your city

function Weather() {
  const [weather, setWeather] = useState(null);
  useEffect(() => {
    let api = `${apiUrl}?q=${city}&appid=${apiKey}&units=imperial`;
    fetch(api).then(response => response.json()).then(data => {
      setWeather(data);
    })
  }, []);

  return (
    <h2>It is currently {weather && weather.main.temp}° in {city}.</h2>
  );
}

export default Weather;
Sweet, you should have the weather displayed on your dashboard right now!
Fetching news
Next, we'll do something similar for fetching the latest headlines from the New York Times! Sign up for a free API key here. You'll need to register an app with them and make sure you mark access to the Top Stories API.
Once you've got your key, we'll use the fetch function in useEffect again and set the news to state by once again using the useState hook. Then, in our render function, we can map over all the articles (I limit it to the first 5 using the splice() function) and display the article image and link to its webpage!
import React, { useEffect, useState } from "react";

let apiUrl = "https://api.nytimes.com/svc/topstories/v2";
let apiKey = ""; // add your API key here
let type ="world.json";

function News() {
  const [news, setNews] = useState(null);
  useEffect(() => {
    let api = `${apiUrl}/${type}?api-key=${apiKey}`;
    fetch(api).then(response => response.json()).then(data => {
      setNews(data);
    })
  }, []);

  return (
    news && news.results.splice(0,5).map((article, index) => {
      return (
      <article key={article.url}>
        <img alt={index} height="100px" src={article.multimedia[0].url} />
        <a href={article.url}>{article.title}</a>
      </article>
      )
    })
  );
}

export default News;
Integrating the To-do List App
Awesome! To add ToDo functionality, we'll be integrating the code from our Build a To-do List App in React.js project. Feel free to go through that tutorial to understand the central concepts.
import React, { useState } from "react";
function TodosComponent() {
const [currentTodo, setCurrentTodo] = useState("");
const [todos, setTodos] = useState([
{
todo: "bake a cake",
isCompleted: true
},
{
todo: "go for a walk",
isCompleted: false
},
{
todo: "contribute a web development tutorial on Enlight",
isCompleted: false
}
]);
function createNewTodo(currentTodo) {
let todosArray = [...todos];
todosArray.push({
todo: currentTodo,
isCompleted: false
});
setTodos(todosArray);
}
function completeTodo(index) {
let todosArray = [...todos];
todosArray[index].isCompleted = !todosArray[index].isCompleted;
setTodos(todosArray);
}
function deleteTodo(index) {
let todosArray = [...todos];
todosArray.splice(index, 1);
setTodos(todosArray);
}
return (
<div>
<input
className="todo-input"
value={currentTodo}
onChange={e => {
setCurrentTodo(e.target.value);
}}
onKeyPress={e => {
if (e.key === "Enter") {
createNewTodo(currentTodo);
setCurrentTodo("");
}
}}
placeholder="What needs to get done?"
/>
{todos.map((todo, index) => (
<div key={todo} className="todo">
<div className="checkbox" onClick={() => completeTodo(index)}>
{todo.isCompleted && <span>✔</span>}
</div>
<div className={todo.isCompleted ? "done" : ""}>{todo.todo}</div>
<div className="delete" onClick={() => deleteTodo(index)}>
🗑
</div>
</div>
))}
{todos.length > 0 && `${todos.length} items`}
</div>
);
}
export default TodosComponent;
Before we wrap up, don't forget to add the styles for the ToDo component in App.css!
/* ToDo Component Styles */

.todo-input {
  font-size: 24px;
  border: none;
  width: 100%;
}

.todo-input:focus {
  outline: none;
}

.done {
  text-decoration: line-through;
}

.todo {
  margin: 32px 0px;
  display: flex;
  align-items: center;
  font-size: 24px;
}

.checkbox {
  width: 24px;
  height: 24px;
  border-radius: 50%;
  margin-right: 10px;
  cursor: pointer;
  background: #d9d9d9;
  font-size: 10px;
  display: flex;
  justify-content: center;
  align-items: center;
  border: 1px solid #fff;
  transition: all 300ms ease;
}

.delete {
  margin-left: auto;
  font-size: 16px;
  cursor: pointer;
}

.checkbox:hover, .delete:hover {
    opacity: 0.8;
  }
Awesome! You just build a personal dashboard in React.js!
What's next?
To build off this project, here are some ideas:
- Autosave your to-do tasks with localStorage
- Display more detailed weather data (and icons!)
- Display more detailed news data (like an abstract)
- Integrate more APIs! (Google Calendar, Strava, Twitter, Spotify, etc.)
Comments (0)